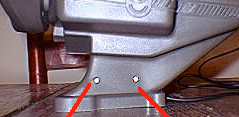
First remove the 4 screws that hold the base on, there are 2 on each side.
WARNING!
Attemting this modification
probably will void the warranty.
Attempt this modification at your own risk!
Removing the centering springs from the yoke will allow it to stay in any position. You will need a medium size philips head screwdriver, a needle nose pliers will help with the spring removal but you can do it with just your fingers.
First remove the 4 screws that hold the base on, there are 2 on each side.
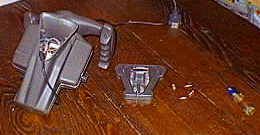
Carefully pull the base off.
Now remove the 8 screws that hold the 2 sides of the yoke together.
Carefully pull the 2 sides apart.
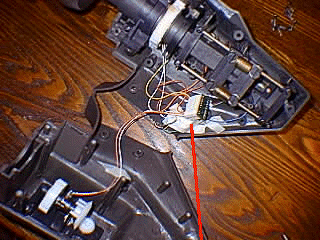
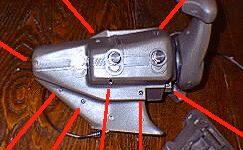
To remove the side panel unplug the wire from the connector block. You
don't have to do this but it makes working on the springs a little
easier.

Remove the 2 springs that center the push/pull action. Carefully pull them
off the plastic posts.
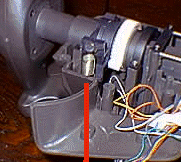
Remove the spring that centers the turning action. Carefully pull it off
the plastic posts. This one takes a little more work
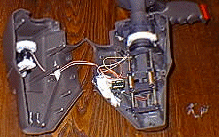
The yoke without the springs.
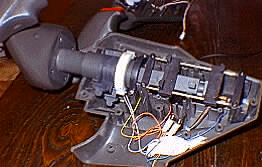
Now put the side back on. Remember to plug it back in, and hold the controls level with body while you're putting the side back on so the center is close to where it was before.
While putting the base back on keep the wire in the slot.
The yoke reassembled.
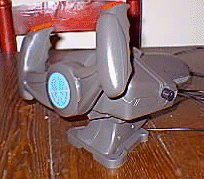
Once it's back together plug it in and test it out.
Photos taken with an Epson PhotoPC in low resolution mode and edited in Paint Shop Pro 4.12.