By Marty Schultz
First take 2 images, one with the camera to the left of the subject, then to the right. The amount you move the camera depends on how far you are from the subject, the farther you are the greater the distance you want between the right and left images.
Here's an example. I used my Olympus C-2100 in macro mode with the flash set to -2.0 taking a picture of a yoda figure.
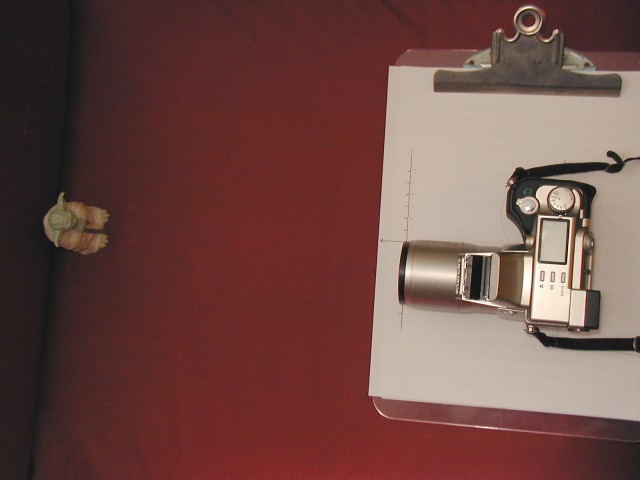
Taking the left image:
Taking the right image:
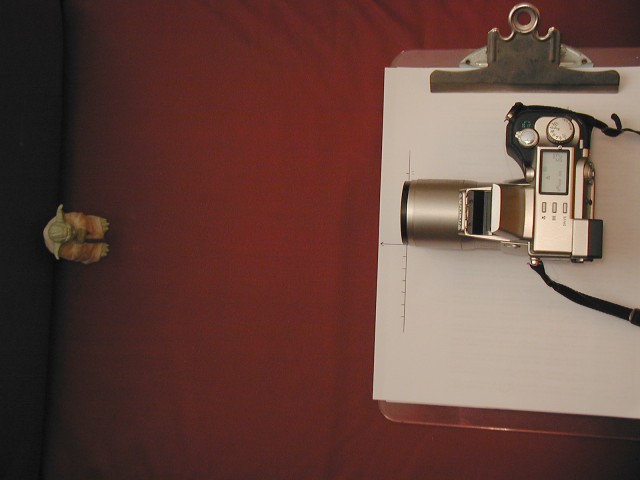
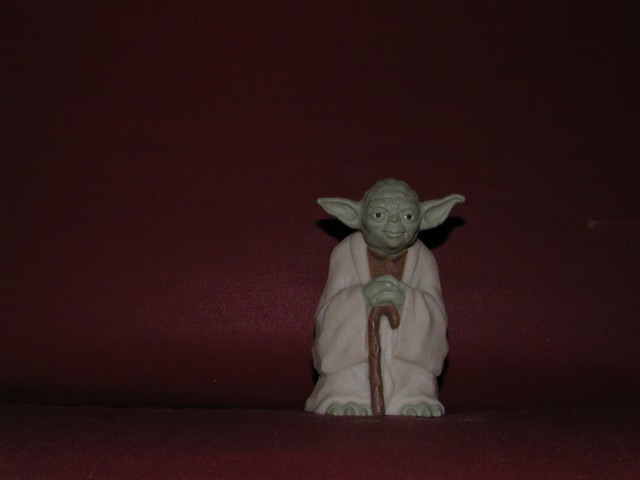
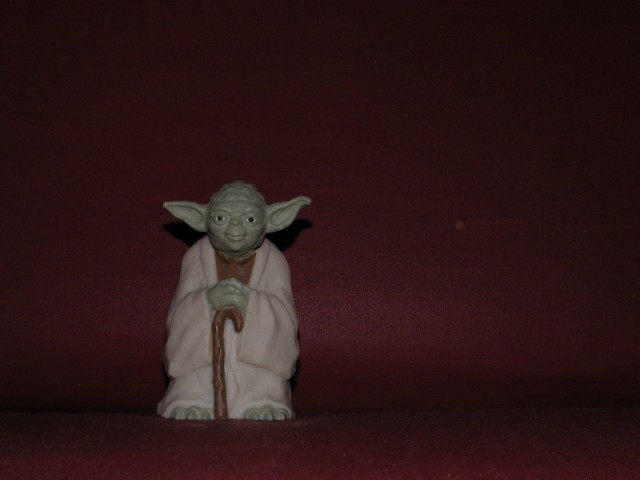
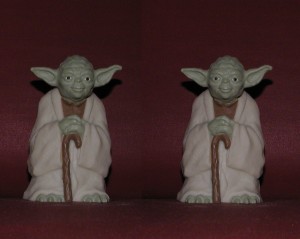
Here are the images you get:
Left,
Right,
To make a standard stereo pair just cut and paste, right image on the
right and left image on the left. You view these with the "relaxed"
method, let your eyes relax until the 2 images come together. You'll
see 3 yodas, the middle one with look 3D.
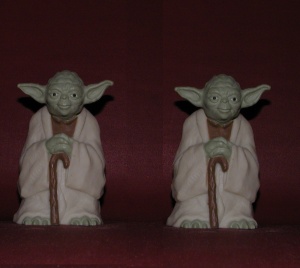
You can also make the image with the right and left images on the opposite
sides. You view this image with the crossed eye method, cross your
eyes until the 2 images come together. (I've never been able to do it this
way, I think you get stuck with what ever method you train your eyes to
use first)
To make an image to use with red/blue glasses, first grey scale the right and left images. Then increase the color depth back up to true color. Adjust the RGB values on the left image to 100% red, and -100% green and blue. Adjust the RGB on the right image to 100% blue, and -100% for the green and red.
Right now looks like:
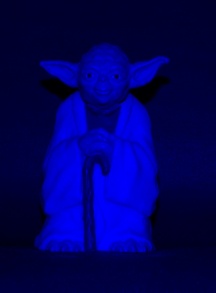
And left now looks like:
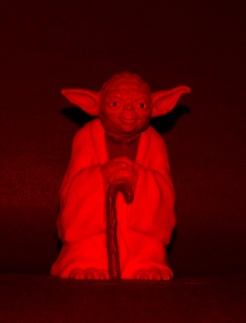
Take one of the images and insert it as a 50% transparent layer on the
other image. It's good to use your red/blue glasses (red lens on
the left) when moving the layer into position. With this method you
get very bad jpeg compression noise so use something else, gif works ok:
Have fun!